Vanguard Positioning: Take Space Your Team Can Actually Use
Playing Vanguard is a sequence of decisions about where a fight happens. A forward position only helps when teammates can reach, see or support it. This guide gives a practical corner-to-corner method for ordinary objective matches. It is original tactical advice, not a claim that every Vanguard has the same tools. Current ability text overrides examples, particularly after changes to shields, health types and Team-Ups.
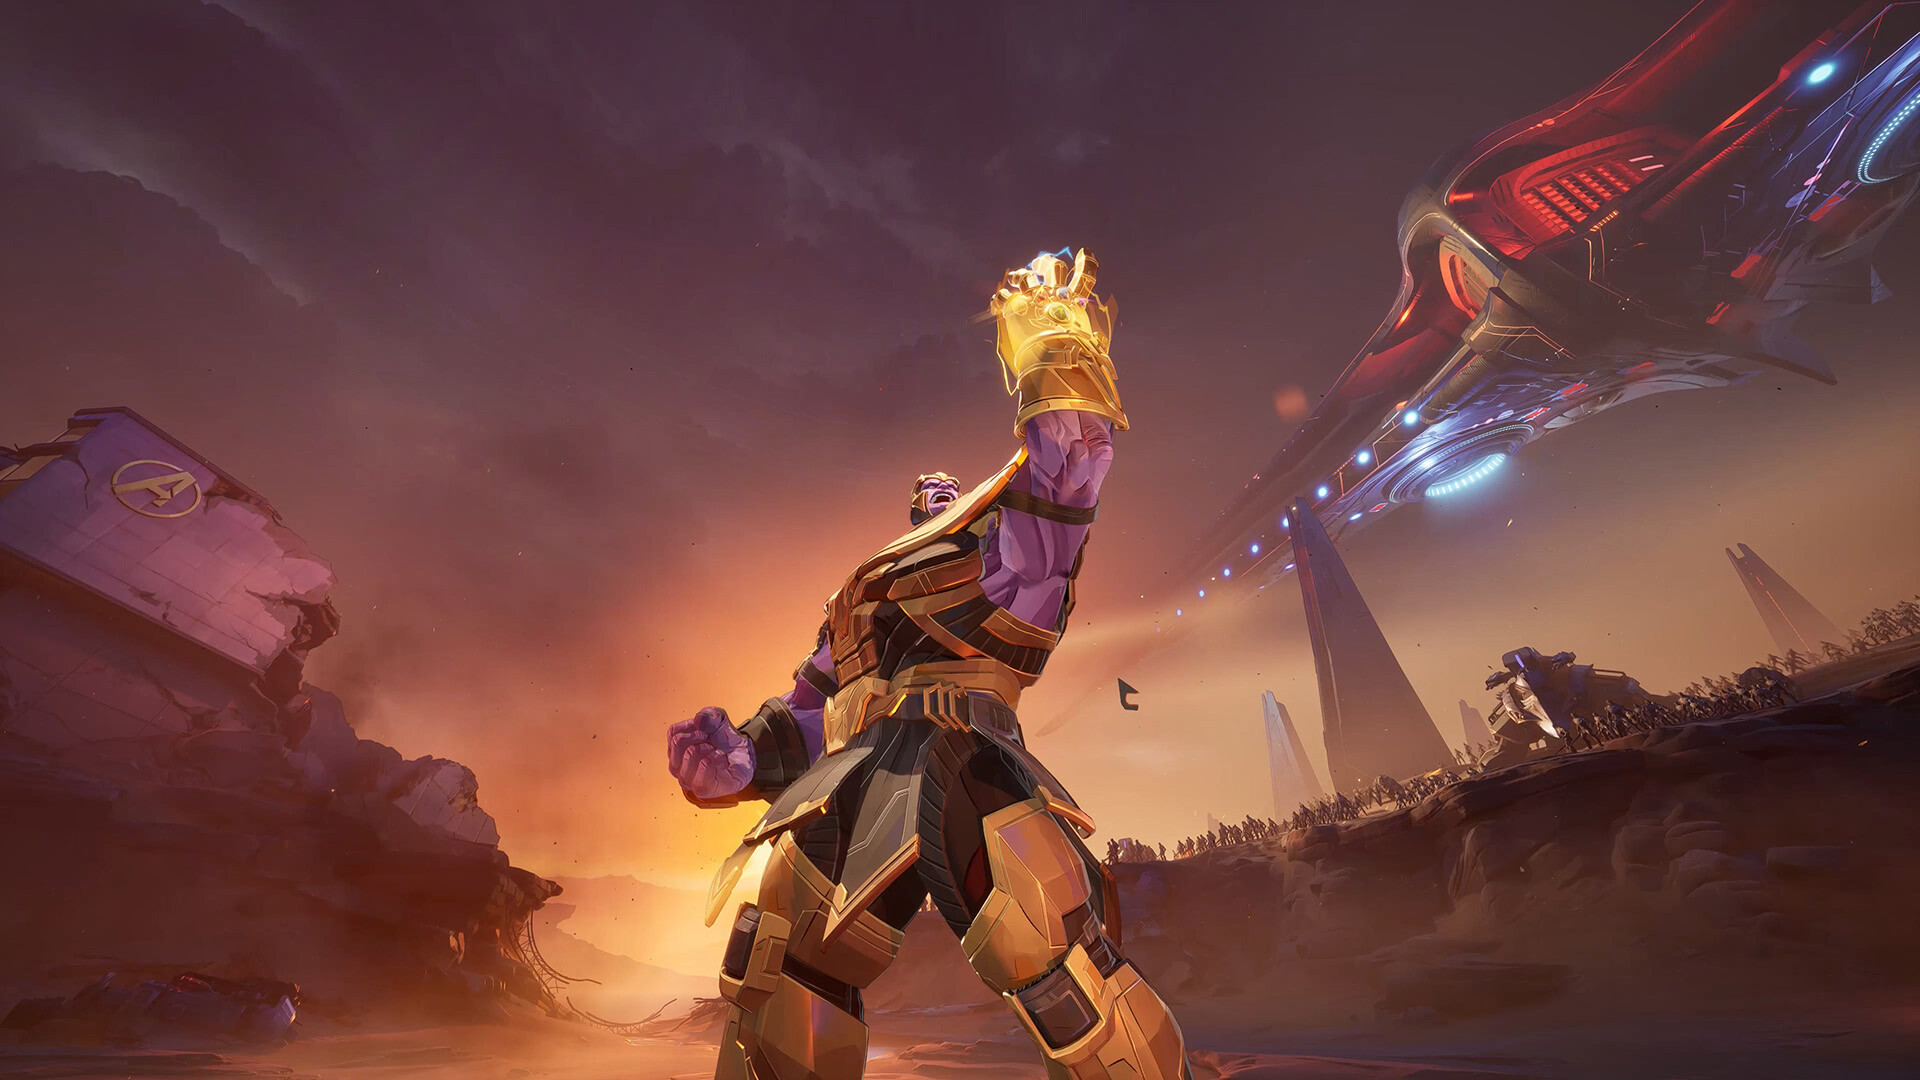
Official game screenshot · NetEase Games. Publisher-provided public store media used to illustrate independent editorial discussion. Copyright remains with the respective rights holders; no redistribution license is offered.
Define useful space before walking into it
Useful space is a position that lets your team attack, recover, travel or contest with less risk. It might be a doorway, an outside corner or access to a nearby platform. Standing far ahead is not automatically useful if your team cannot follow. Before advancing, look for the position your teammates could actually use next. Think about their attack ranges and sight lines. A corner that suits a close-range hero may leave a distant ally with nothing to see.
Choose a corner with an exit
Approach a piece of solid cover that lets you expose only the angle you intend to fight. Before committing, identify the next retreat point. Test whether you can step back without crossing the entire enemy view. Cover is especially important while a defensive ability is unavailable. Your health pool is a buffer for making a play, not permission to remain in every firing lane. If several opponents can see you from unrelated angles, reposition rather than asking your team to out-heal the geometry.
Spend defensive tools on a crossing or a threat
Decide why you are using a barrier, protection skill or other defensive resource before activating it. Good purposes include helping allies cross an exposed gap, preventing a dangerous burst or buying enough time to return behind cover. Activating everything on first contact can leave you powerless when the enemy really commits. Likewise, preserving every resource while a teammate is trapped misses their purpose. Match the ability to a concrete threat, then announce or recognize when its protection ends.
Advance in stages that allies can match
Take one position, briefly confirm the team is connected, then consider the next position. This pause is information gathering rather than inactivity. Look for teammates clearing the previous obstacle, a Strategist changing angle or a Duelist gaining a side route. If they are delayed, maintain your current safe position instead of opening another gap. A good advance reduces enemy options while preserving friendly access. A rushed advance may simply move your isolated death farther away from your team.
Know when to turn back and protect
An opponent entering the backline can make further forward pressure useless. Check whether the threat is immediate and whether a nearby ally already has it controlled. If a teammate cannot safely perform their job, moving back to deny the attacker space can be your strongest play. Avoid chasing that attacker indefinitely. Restore a safe area, recover the formation and return attention to the objective. Protection is successful when your team can function again, even if the intruder escapes without an elimination.
Doctor Strange example: Shield of the Seraphim at a crossing
The official July 2026 balance post specifically discusses Doctor Strange’s Shield of the Seraphim. Use the current shield display rather than copying that historical patch’s numerical value. At a doorway, identify the piece of cover allies need to reach, then decide whether the shield creates a practical crossing. Stop at the destination and reconnect instead of walking indefinitely with protection raised. If teammates remain behind the previous wall, the barrier has not automatically connected them to your new position. The actionable goal is one supported crossing, followed by a fresh check.
Worked example: an attack stalls at a doorway
Imagine your team approaches a narrow doorway while opponents fire from beyond it. Instead of standing in the middle until your defenses are empty, take the near corner and identify a reachable second cover position. Wait for teammates to assemble, use a suitable defensive tool for the crossing and stop at that next cover. If an ally is still far behind, do not continue into the following room. You have gained a playable position; turn that gain into another coordinated step.
Recover after losing the frontline position
When your defensive resources are exhausted, start retreating while you still have a route. Remaining until the last point of health often turns a small reset into a full defeat. Move toward teammates and useful cover rather than into a random side corridor. If you are eliminated, return with the group. Do not rush alone to prove you can recover the same corner. The enemy now controls the approach, so reassess their angles before repeating the previous entry.
Measure space through team actions
Review whether allies moved through a dangerous area, gained a clean attack angle or survived an enemy engagement because of your position. These outcomes explain more than damage absorbed alone. Also record times you advanced with no friendly access or abandoned a strong corner to chase. The next practice goal can be as specific as checking behind before crossing each major doorway. Space control becomes reliable when your forward movement creates an immediate opportunity another teammate can recognize and use.
Your working checklist
Checkmarks stay in this browser when storage is available. They do not alter your game or connect to your account.
Put it into practice
- Identify the next useful piece of cover and the retreat position behind it before crossing the current friendly line.
- Check that teammates can reach or support your destination. Use an appropriate defensive tool for the crossing rather than spending every cooldown on initial poke.
- Stop after gaining the position. Reconnect with your team, check the backline and decide whether pressure or protection is the next priority.
- Retreat before the route closes. After a lost fight, regroup and inspect the enemy angle instead of repeating an unsupported solo entry.
Before you finish
- The destination helps an ally do something useful.
- My escape remains possible when a defensive skill ends.
- I notice pressure behind me as well as opponents in front.
Common questions
Should the Vanguard always stand on the objective?
Sometimes a nearby corner protects the objective more effectively, provided the team still satisfies the actual contest requirement. Check the objective state and ensure someone can contest when necessary.
Is taking damage evidence that I am doing my job?
Only if the exchange achieves something useful. Damage absorbed while allies cross can be valuable. Damage taken alone, with no follow-up and no safe retreat, usually consumes resources without creating an opportunity.
When should I abandon a forward position?
Leave when friendly support disappears, enemy angles multiply or your remaining tools cannot cover the retreat. Giving up a small amount of space can preserve the team for a much stronger next fight.