Strategist Positioning: Heal, Contribute and Survive the Dive
A Strategist cannot help the next fight while repeatedly returning from spawn. Good positioning balances access to teammates with protection from enemy approaches. This guide explains that balance through ordinary fight decisions and an original recovery example. Different Strategists heal, attack and provide utility in different ways; confirm the current ability requirements and ranges in the client rather than assuming every technique works through walls or at any distance.
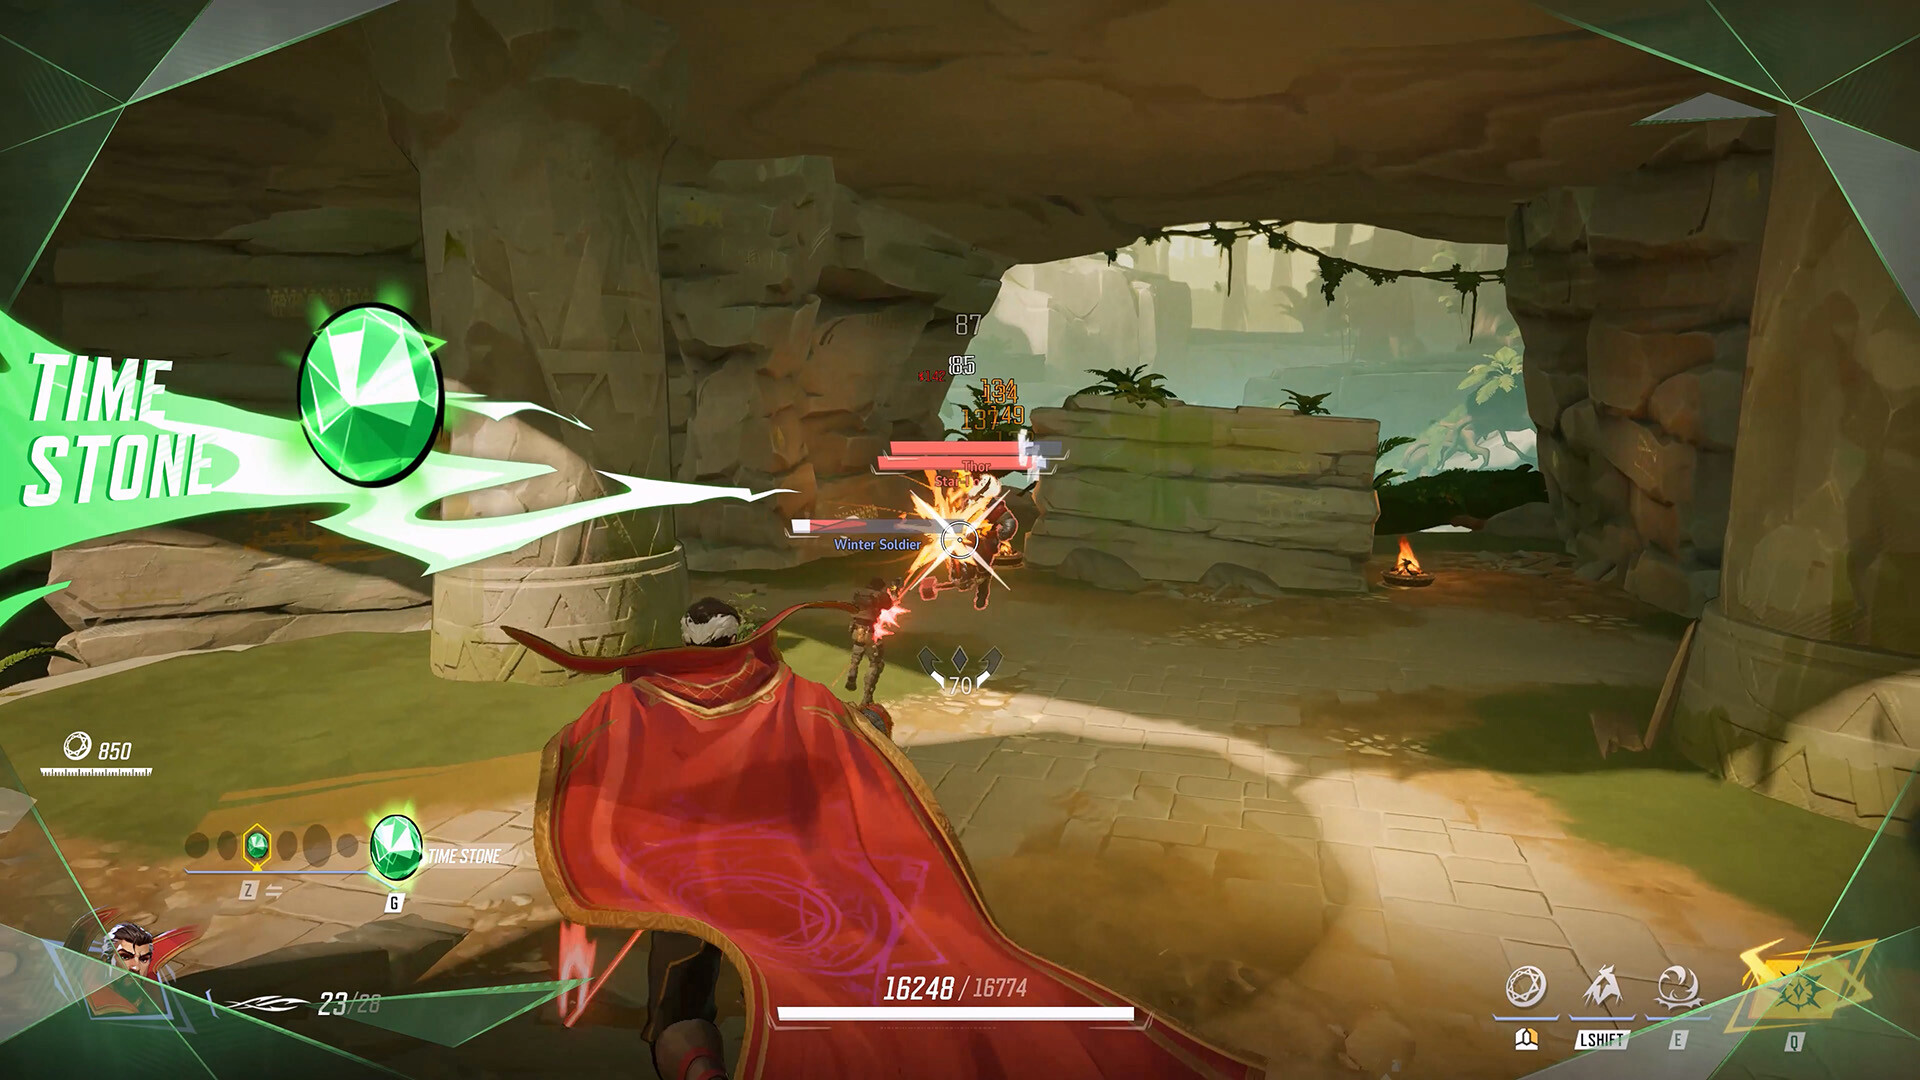
Official game screenshot · NetEase Games. Publisher-provided public store media used to illustrate independent editorial discussion. Copyright remains with the respective rights holders; no redistribution license is offered.
Start by identifying how your support reaches allies
Some effects require aim, an area placement, a target selection or proximity. Learn the route between your input and the ally receiving help. During practice, put cover between yourself and a target, change the distance and watch what fails. This creates a real understanding of your kit instead of a vague expectation that support should always arrive. In a match, position so the likely recipient is accessible without requiring you to stand in the most exposed part of the fight.
Stand near cover with a second position available
Choose a position that sees the friendly engagement but allows a quick break from enemy fire. A second position should be reachable without passing through the enemy frontline. Avoid remaining in the exact same doorway for several fights; opponents can learn where you will appear. Move when the frontline changes or a flank becomes likely. Being distant is not automatically safe if a teammate cannot help you there. Prefer a connected position over an isolated sniper-style perch with no escape.
Prioritize urgent, achievable saves
Look at danger as well as missing health. An ally behind cover may be able to wait while another faces an immediate attack. An ally far beyond your effective access might be impossible to save without losing both players. Use a defensive or utility ability when it changes the outcome, rather than applying every resource to the first low health bar. If a teammate retreats into safety, use that window to recover the wider team. This keeps your attention tied to the fight rather than a fixed healing order.
Contribute pressure when support is stable
Healing and damage are not mutually exclusive goals, but the right balance depends on your kit and the immediate threat. When teammates are stable and you have a safe angle, pressure an exposed opponent or deny an approach using the tools available. Stop when an urgent support need appears. Do not chase a distant elimination and lose sight of the next engagement. A useful attack creates breathing room for your team; a distracting duel can remove the very support that allowed your team to hold position.
Prepare a response before the diver arrives
Notice side routes and listen to relevant game audio without relying on audio alone. Decide which nearby cover, ally or defensive ability will help if an opponent reaches you. Preserve an exit when the threat is likely rather than spending it casually for a small positioning shortcut. Use the game’s communication tools to indicate the threat clearly. Move toward a place teammates can influence. Running deeper into an empty corridor can make the attacker safer while separating you from every potential source of help.
Cloak & Dagger example: direct support and a placed area
The official July 2026 notes identify Lightforce Dagger, Veil of Lightforce and Dagger Storm as separate healing-related actions. Read their current descriptions and practice each instead of assuming one input replaces all the others. In a doorway fight, first choose a position that lets the intended ally receive the relevant effect. A placed area is useful only if the ally can remain in or use it; direct support still needs the access its current mechanics require. The positioning decision comes before pressing the most visually obvious healing button.
Worked example: the frontline is healthy but you are pressured
Suppose your frontline is fighting comfortably while an opponent enters your side corridor. Continuing to stare at the frontline may lead to a preventable death. Signal the intruder, move behind nearby cover and use an appropriate survival option. If allies turn to help, maintain access while avoiding unnecessary exposure. Once the threat retreats, re-establish the support angle before dealing extra damage. The successful outcome is a team that remains functional, not necessarily a solo elimination against the diver.
Recover from a support breakdown
When several teammates fall, check whether the fight can still be contested meaningfully. If not, save your position and return toward regrouping allies instead of spending every ability on an impossible rescue. If you die early, review where the attacker first became visible and whether you had already lost your escape. A request for protection is useful, but it should accompany a change you can make yourself. Adjusting one angle or saving one defensive resource often improves the next fight immediately.
Review access rather than only the healing total
A large healing number does not show whether the right ally survived at the right moment. Review three questions: who could you reach, what danger did you notice and what did you retain for the next threat? Mark any time you could not support because of a wall, distance or distraction. A practical training goal is to reposition with the frontline before losing access. Better support is often created by moving sooner, rather than by trying to press abilities faster from an unsuitable location.
Your working checklist
Checkmarks stay in this browser when storage is available. They do not alter your game or connect to your account.
Put it into practice
- Test how your current hero applies healing and utility. Check the effect of cover, distance and target selection in practice.
- Choose connected cover with a second position nearby. Track the frontline and adjust before it moves beyond your useful access.
- Prioritize the ally facing an immediate, preventable defeat. Contribute safe pressure when support is stable, then return attention to emerging danger.
- When pressured, signal the threat and move toward help. After a breakdown, regroup and review the first lost sight line or escape opportunity.
Before you finish
- I know what blocks my support effect.
- I have a response to a nearby attacker.
- My damage opportunities do not hide urgent support needs.
Common questions
Must I heal the Vanguard before everyone else?
No fixed role order works in every situation. Consider immediate danger, whether the save is possible and what the ally can do if protected. A healthy frontline cannot compensate for losing every other useful position.
Should I follow a teammate who dives very far away?
Only if you can reach a safe, useful position with a way back. Do not convert one unsupported engagement into two deaths. Communicate your access limit and support the connected part of the team.
Why do I die even when I stay far behind?
Distance can isolate you from help and leave predictable flank routes. Review nearby cover, teammate access and the attacker’s approach. A slightly closer connected position may offer more protection than an empty rear corridor.